Understanding the Exposure Triangle in Photography

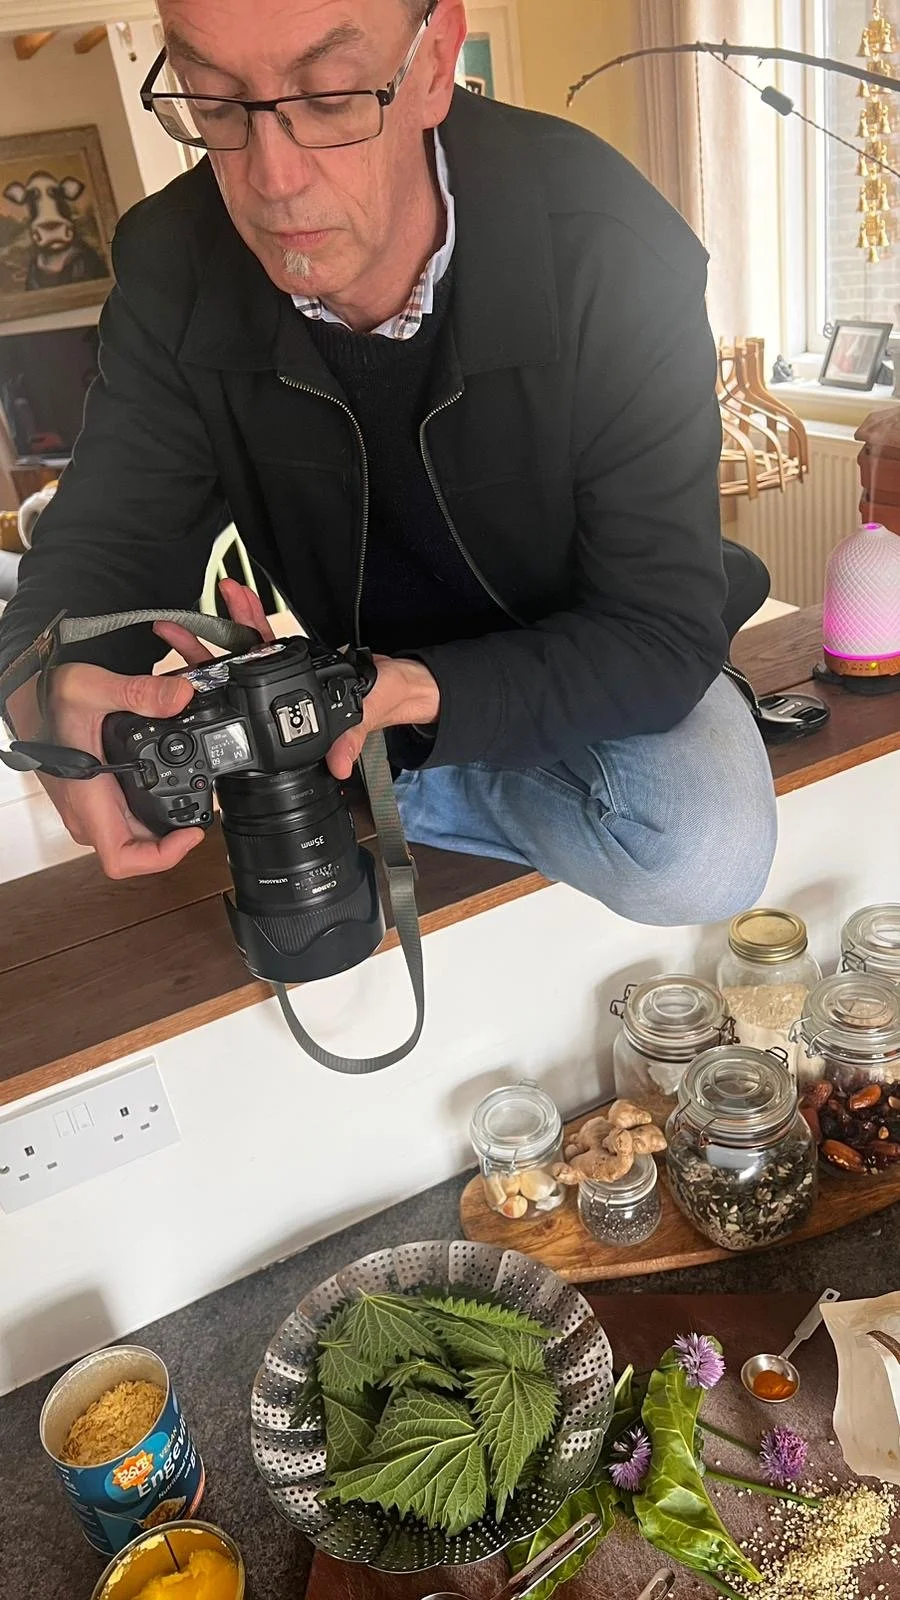
Embarking on a photography journey can be both exciting and overwhelming, especially when confronted with technical terms like the "exposure triangle." For many, including myself, this term initially led to confusion. Despite delving into photography books at the Buckley Library in the 1980s, the concept wasn't frequently discussed. However, over time, I realised that the essence of the exposure triangle lies not in its geometric name but in the interplay of three critical camera settings. Let’s demystify this concept by focusing on how these settings work together to create a well-exposed photograph.

What is the Exposure Triangle?

The exposure triangle comprises three fundamental settings that control the exposure of a photograph:

1. Aperture (f-stop)

2. Shutter Speed

3. ISO Sensitivity

Each setting affects the amount of light reaching the camera sensor, and thus the brightness of your photo. Understanding how these elements interact is key to mastering photography.

Shutter Speed: The Blink of an Eye

Think of shutter speed as akin to your eye blinking. When you blink quickly, you limit the amount of light entering your eye, akin to a fast shutter speed. Conversely, a slow blink allows more light to enter, similar to a slow shutter speed.

- Fast Shutter Speed (e.g., 1/1000th of a second): Freezes motion, perfect for action shots.

- Slow Shutter Speed (e.g., 1/30th of a second or slower): Allows more light in, useful for low-light conditions or creating motion blur.

Aperture: The Camera's Pupil

The aperture functions like the pupil of your eye, which dilates and contracts to control the amount of light entering.

- Wide Aperture (e.g., f/1.8): Lets in more light, creating a shallow depth of field (blurry background).

- Narrow Aperture (e.g., f/16): Allows less light, resulting in a greater depth of field (more of the scene in focus).

ISO Sensitivity: The Sensor's Sensitivity to Light

ISO measures the sensitivity of your camera’s sensor to light. Lower ISO values (e.g., ISO 100) mean less sensitivity and less noise, while higher ISO values (e.g., ISO 3200) increase sensitivity and noise.

- Low ISO: Best for bright conditions to maintain image quality.

- High ISO: Useful in low-light situations but can introduce graininess.

Balancing the Triangle

To achieve the perfect exposure, you need to balance these three settings. Here’s how they interrelate:

- Aperture and Shutter Speed: If you widen the aperture to let in more light (e.g., from f/8 to f/2.8), you can use a faster shutter speed to prevent overexposure.

- Shutter Speed and ISO: In low light, a slower shutter speed might be necessary to avoid a high ISO, which can add noise to your image.

- Aperture and ISO: Increasing the ISO can allow you to use a narrower aperture without sacrificing exposure.

Practical Example

Imagine you’re taking a photo in a dimly lit room. You want to capture a sharp image of a moving subject.

1. Shutter Speed: Set a fast shutter speed to freeze the motion (e.g., 1/500th of a second).

2. Aperture: Open up the aperture to allow more light in (e.g., f/2.8).

3. ISO: Increase the ISO to ensure the photo is bright enough without using a slow shutter speed or too wide an aperture (e.g., ISO 1600).

By adjusting these settings, you can achieve a well-exposed photograph even in challenging lighting conditions.

Conclusion

The term "exposure triangle" might initially seem daunting, but by understanding how shutter speed, aperture, and ISO work together, you can control the exposure of your photographs with confidence. Think of it less as a geometric shape and more as a trio of tools that, when balanced correctly, result in beautifully exposed images. Mastery of these elements will open up new creative possibilities in your photography journey.

The Power of Relatable Content: Why Less Polished Reels Are Winning Over Audiences

In the age of social media, the landscape of marketing and branding is continuously evolving. One trend that has caught the attention of many businesses and content creators alike is the shift towards more relatable, unpolished content. As a creator who specialises in crafting professional reels for businesses, I've noticed a growing demand for a different approach: making content that feels authentic and less polished but creating less polished content is in itself becoming a professional tool.

The Rise of Relatable Content

In a world where audiences are bombarded with advertising and highly produced content, there's a growing desire for authenticity. Viewers are becoming increasingly savvy and can easily spot when they're being sold to. This shift has led to the rise of relatable content: videos and photographs that feel more genuine, spontaneous, and, most importantly, human.

Why Relatable Content Works

1. Authenticity Breeds Trust:

Authentic content resonates with audiences because it feels real. When viewers see content that looks and feels like something they might create themselves, it builds a sense of trust. They perceive the brand as more transparent and approachable, which can lead to stronger customer loyalty.

2. Emotional Connection:

Relatable content often tells a story or showcases real life scenarios that evoke emotions. Whether it's a behind-the-scenes look at a day in the life of a small business or a candid moment of a team working together, these unpolished reels can create an emotional connection that highly produced content often lacks.

3. Engagement Over Perfection:

Perfectly polished photos videos can sometimes feel distant and impersonal. In contrast, content that includes minor flaws or imperfections can appear more engaging. People are more likely to interact with videos that feel real and relatable, leading to higher engagement rates.

Crafting Unpolished, Yet Effective Reels

While creating professional reels has its own set of challenges, making content that feels unpolished but still impactful requires a different kind of finesse. Here are a few tips:

1. Embrace Imperfections:

Don't be afraid to show the less-than-perfect moments. These can include candid shots, behind-the-scenes footage, or even minor mistakes. These elements can make your content more relatable and human.

2. Focus on Storytelling:

Instead of focusing solely on high production values, prioritise storytelling. A compelling narrative can capture attention and keep viewers engaged. Share stories that your audience can relate to, whether it’s the journey of your business, customer testimonials, or day-to-day operations.

3. Use Natural Lighting and Settings:

High-quality lighting and studio settings can make your videos look professional but might also create a sense of detachment. Natural lighting and real-life settings can help create a more authentic feel.

4. Keep It Real:

Use real employees, real customers, and real scenarios. Avoid scripts when possible; let people speak from the heart. This approach can make your content more relatable and trustworthy.

Balancing Professionalism and Relatability

The key to successful unpolished content is finding the right balance between professionalism and relatability. While it’s important to create content that feels genuine, it’s also essential to maintain a certain level of quality to reflect your brand’s standards.

In the end, the shift towards relatable content is a testament to the changing dynamics of audience preferences. As a content creator, understanding and adapting to these preferences can help you create reels that not only look professional but also resonate on a deeper level with your audience. Embrace the imperfections, tell real stories, and connect with your viewers in a way that polished content often cannot.

Creating less polished, more relatable reels can be a powerful tool for businesses looking to build trust, foster engagement, and create a genuine connection with their audience. So, next time you're crafting content, consider letting go of the pursuit of perfection and instead focus on being real and relatable. Your audience will thank you for it.

Ray

A Flavourful Journey: Collaborating on Jess's First Cookbook

As someone passionate about food photography, I've embarked on an exciting new project that combines my love for visual storytelling with the culinary expertise of my friend Jess. Jess is a chef who specializes in nutrition and healthy eating, and she's currently working on her first cookbook. When she asked me to collaborate with her, I couldn't have been more thrilled.

Recently, Jess and I sat down to brainstorm ideas for the book's food photography. Over a delightful pot of nettle and lemon tea and some tasty nettle nibbles she had prepared, we discussed our vision for the project. We talked about how we could capture the vibrant colors, textures, and freshness of her dishes, and how we could convey the essence of healthy eating through stunning images.

The project is set to kick off in just a week, and I'm eagerly looking forward to it. This collaboration is not just about photographing food; it's about bringing Jess's nutritious and delicious recipes to life in a way that will inspire others to embrace healthy eating. Stay tuned for more updates as we dive into this flavourful journey together!

Ray

Planning for Rain on Your Wedding Day?

Let’s be realistic. For the last two summers, it’s been wet.

Planning for rain on your wedding day can ensure that the celebration remains enjoyable and memorable, regardless of the weather. Here are several points you can consider:

1. Choose a Venue with Indoor and Outdoor Options

Selecting a venue that offers both indoor and outdoor spaces can provide flexibility. In case of rain, the ceremony or reception can be moved inside quickly.

2. Rent a Tent

If you have your heart set on an outdoor wedding, renting a tent can be a great backup plan. Ensure the tent is large enough to accommodate all your guests and any additional elements like a dance floor or dining area.

3. Have a Rain Plan

Discuss and establish a clear rain plan with your wedding coordinator or planner. This should include alternative setups for the ceremony, cocktail hour, and reception. Make sure all vendors are informed and prepared for this contingency.

4. Provide Rain Accessories

Offer your guests rain accessories such as umbrellas, ponchos, etc. This not only keeps them dry but can also add a fun, cohesive element to your wedding photos.

5. Protect Décor and Equipment

Ensure that all décor and equipment, such as sound systems and lighting, are protected from the rain. Waterproof coverings or strategic placements can help safeguard these items.

6. Communicate with Guests

Keep your guests informed about the potential for rain and the backup plans. This can be done via your wedding website, invitations, or social media updates. Encourage them to dress appropriately for the weather.

7. Consider Flooring

If the ground is likely to get muddy or slippery, consider installing temporary flooring or mats in outdoor areas to ensure safe and comfortable walking paths for guests.

8. Embrace the Rain

Sometimes, despite the best plans, rain can be unavoidable. Embrace it! Rain can create beautiful, romantic photos and unique memories. Be ready to go with the flow and enjoy the moment.

9. Consult with Your Photographer

Discuss potential rain scenarios with your photographer. Professional photographers are often skilled at using rain to create stunning and unique photos, but it helps if they are prepared in advance.

10. Plan for Comfort

Ensure that there are adequate measures to keep everyone comfortable, such as heaters if it’s chilly or towels to dry off. A little thoughtfulness can go a long way in making sure your guests are happy.

11. Stay Positive

Finally, maintain a positive attitude. Weather is unpredictable, but your wedding day will be special regardless. Focus on the joy of the occasion rather than the imperfections.

By having a solid rain plan and being prepared for various scenarios, couples can ensure their wedding day remains special and memorable, even if the weather doesn't cooperate.

#weather #weddings #tips

Daylight White Balance

As a seasoned photographer who transitioned from film to digital, I've often found myself sticking to certain habits that have served me well over the years. One such habit is setting my camera to daylight white balance. In the era of film photography, the majority of the film available was balanced for daylight, and as I moved from film SLRs to digital and mirrorless cameras, I've continued this practice. Here's why I believe daylight white balance is a reliable choice for many photographers.

Understanding White Balance

White balance is a setting on your camera that adjusts the colors to ensure they look natural under different lighting conditions. The goal is to make whites appear white and colors look as true to life as possible. Different light sources have different colour temperatures, measured in Kelvin (K). For example, daylight has a color temperature of around 5500K, whereas incandescent light is much warmer, around 2700K.

The Appeal of Daylight White Balance

1. Natural Look: Daylight white balance mimics the natural light our eyes are accustomed to. This consistency helps in creating images that look natural and familiar, which is why it has been the standard for film photography.

2. Consistency: By keeping my camera set to daylight white balance, I ensure a consistent colour tone across my photos. This is particularly useful when shooting a series of images that need to have a uniform look, such as in a project or a photo essay.

3. Easier Post-Processing: Consistent white balance makes the post-processing stage more straightforward. If all images are shot with the same white balance, it's easier to apply batch corrections and achieve a cohesive look.

Daylight White Balance in Digital Photography

Digital cameras come with multiple white balance settings, including Auto, Tungsten, Fluorescent, Shade, and of course, Daylight. While auto white balance can be convenient, it often adjusts based on the scene, which can lead to inconsistencies in a series of shots.

Sticking to daylight white balance gives me control and predictability. I know how my images will turn out, and this control allows me to better visualize the final outcome while shooting. It's a throwback to the days of film, where the look of the image was dictated by the type of film used.

When to Deviate from Daylight White Balance

While daylight white balance is my go-to setting, there are instances where I make exceptions, especially when working with artificial light sources such as flash. Flash typically has a color temperature close to daylight, but depending on the modifiers used and the environment, it might require some adjustment.

In studio environments or when using flash, I might set a custom white balance to ensure accurate colour rendition. This involves using a grey card or white balance tool to measure the light and set a precise white balance in-camera.

In conclusion, daylight white balance is a dependable choice for photographers who want consistent, natural-looking images. It harkens back to the days of film, providing a familiar and reliable colour profile that simplifies the shooting and editing process. While there are times when other white balance settings or custom adjustments are necessary, daylight white balance remains a solid foundation for most of my photography work.

As you continue your journey in photography, don't be afraid to experiment with different settings to find what works best for you. But if you're looking for consistency and a natural look, daylight white balance is a great place to start.

Ray